Need it today? We can save you with our SOS service! Click for more details Click here for same day SOS Service
UK FlagTHE UK'S LEADING SAME DAY PRINTER!


A7 Gift Vouchers

74 x 105mm

Small enough to tuck into a greeting card or hand over at the till, A7 Gift Vouchers turn a simple offer into a thoughtful gift. The compact 74 x 105mm format works well for coffee shops, independent shops and quick thank-you treats.

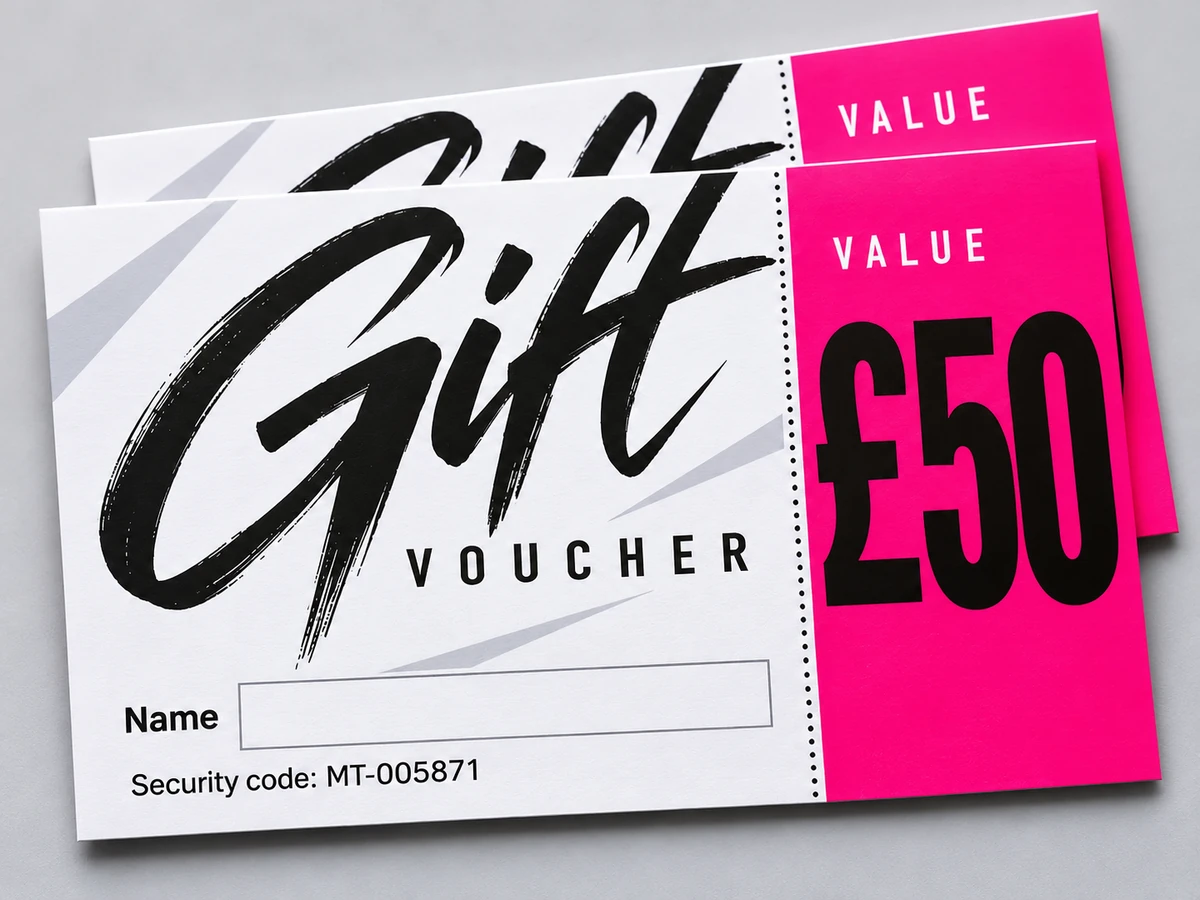
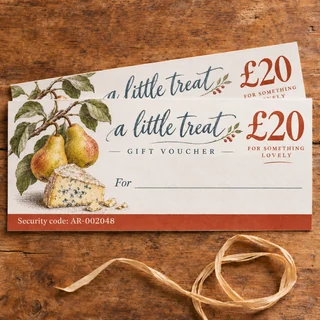
Keep your logo and voucher value prominent, leave room for the recipient's name and add your redemption details. Choose your paper, printed sides and quantity below; the images show examples of what you can create with your own artwork.


Choose your quantity and delivery date

QTY STANDARD

Wednesday 18th November

EXPRESS

Friday 13th November

FAST TRACK

Thursday 12th November


A7 Gift Vouchers

A little voucher with a clear message

A7 is the smallest format in our Gift Voucher range. Its pocket-sized 74 x 105mm face is suited to a short headline, a bold value and a writable name field. A clean layout with strong contrast keeps the important details easy to read.

Use the reverse for opening hours, contact details or concise redemption terms when choosing double-sided printing. If you prefer a blank reverse, choose single-sided printing. Uncoated paper offers a natural surface for handwritten names; 300gsm gives the voucher a more substantial feel.

Supply artwork at the finished A7 size with 3mm bleed on each edge. Keep text and any voucher code at least 3mm inside the trim, and allow enough space for names to be written clearly.

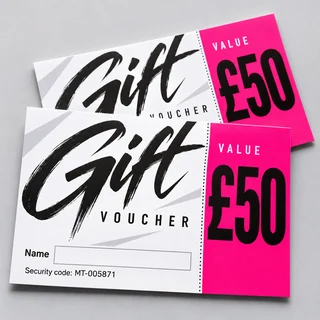
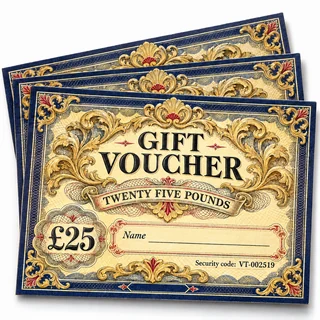
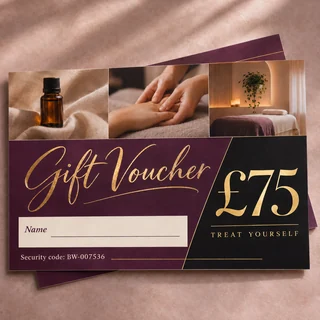
A7 Gift Vouchers with a recipient name area, printed value and voucher code

Frequently Asked Questions


What size are A7 Gift Vouchers?

The finished sheet measures 74 x 105mm. You can supply a portrait or landscape design.

Where does an A7 voucher work best?

Use A7 for small counter gifts, coffee-shop treats, loyalty rewards and vouchers enclosed with a greeting card. Keep the main message brief and place longer terms on the reverse.

Which paper should I choose for handwritten names?

Uncoated paper has a natural matt surface that is suitable for writing on. Gloss has a shiny coated surface and Silk has a softer sheen. Choose 130gsm, 170gsm or 300gsm Gloss or Silk, or 120gsm, 170gsm or 300gsm Uncoated.

Can I print terms on the reverse?

Yes. Choose Double Sided and supply one PDF page for each printed face. Single Sided leaves the reverse blank.

What quantities can I order?

Choose from 25 to 20,000 vouchers per design. The table also lets you enter a bespoke quantity within that range. When you order multiple versions, each design receives the selected quantity.

Can I print different values or voucher codes?

Include the value, recipient fields and any fixed code in your artwork. Use Versions to order distinct designs at the same specification and quantity per design. Automatically varying individual names or security codes is not included in the options shown; contact us if you need variable-data printing.

Are these vouchers for spending at CheapestPrintOnline?

These are printed gift vouchers for your business to issue and manage. Values shown in the example images illustrate the artwork; the price table shows the cost of printing your selected quantity.

Does the printing price include VAT?

Gift Voucher printing is VATable. Prices initially include VAT; use the Include VAT control to view prices before VAT. The VAT amount is shown in your basket before payment.

How should I prepare A7 Gift Vouchers artwork?

Supply a print-ready PDF at 74 x 105mm finished size with 3mm bleed on every edge. Keep important text, names and codes at least 3mm inside the trim. Upload your artwork through the proofing system after checkout.

Delivery Options


Choose an available service in the price table. Standard is 5 working days to dispatch, Express is 24 hours to dispatch and Fast Track is same-day dispatch, subject to artwork approval by 12 noon. The headings allow an additional working day for delivery. Weekends and non-working dates are excluded.

Delivery

Templates

Click to download your template or design your own artwork using Canva:

Our Templates
Our templates are pre-sized with guides for trim and safe areas. Delete the template after designing.

Templates

Artwork Guide

Whether you’re new to print design or just want to double-check you’re doing things correctly, this guide outlines the key considerations when supplying artwork — helping you avoid delays or unexpected results.

Creating your artwork

Start by creating a new document using your preferred design software or online design tool. This can be anything from a simple browser-based editor to professional design software.

  • • Online tools: Canva and similar browser-based designers
  • • Adobe Creative Suite: Photoshop, Illustrator, InDesign
  • • CorelDRAW: Bitmap and vector design support
  • • Microsoft Office: Word, Publisher or PowerPoint
  • • Other software: Any tool that can export a high-quality PDF
  1. • Set your document to the correct finished size.
  2. • Keep important text and logos inside a safe area.
  3. • Add images, text and colours to build your design.
  4. • Export your final artwork as a PDF.

Print & colour guidelines

  • • Keep text and important elements at least 3mm from the edge
  • • Extend background colours and images fully to the edge of the page
  • • Avoid borders where possible — trimming tolerances can make them appear uneven
  • • Use images at 300 DPI for sharp, professional print quality
  • • Supply artwork as single-page PDFs

Colours on screen often appear brighter than in print because screens use RGB colour made from LED light, while printing uses CMYK inks applied to paper. This difference means some colour variation is normal when moving from screen to print.

Our proofing system automatically converts your artwork to CMYK and shows you exactly how it will print before approval.

For solid black areas, we recommend using a rich black mix:
C 60% / M 60% / Y 0% / K 100%

Before you approve

  • • Check spelling, grammar, prices and dates
  • • Review yellow tones carefully after upload
  • • Ensure no important content sits close to the edge
  • • Only approve when you’re completely happy

Uploading your artwork

After placing your order and completing payment, you’ll be taken to our file upload page. This is where you upload, preview and approve your artwork before it goes to print.

Step 1 – Choose your product

Select the product you’ve ordered. If your order contains multiple items, start with the first product listed.

Step 2 – Design service (if purchased)

If you’ve paid for our professional design service, select this option to complete a short design brief. A proof will be emailed to you within 3–4 working days.

Step 3 – Upload your file

Choose the correct size and orientation, then upload your artwork file. For double-sided products, upload each side separately — or upload a two-page PDF containing both sides.

Step 4 – Preview and adjust

You’ll see a live preview of your artwork. Your design should reach the black edge line. If needed, use the crop and resize tools to make your artwork fill the page.

Step 5 – Final check and approval

Carefully review the final preview — what you see on screen is exactly what will be printed. Enter your invoice number and product code, then click Approve & Print.

Once approved, your file enters our automated production workflow and no changes can be made.

Need more help?


Responsive Design